You do not need to be a designer to send files that print well. A handful of basics saves a lot of back and forth, and the disappointment of a fuzzy logo on an otherwise good product.
Here is how to prepare files for printing in plain English: resolution, vector and raster, bleed, colour mode and the format to send. If any of it feels like too much, the last section is the one to read.
How to prepare files for printing: start with the finished size
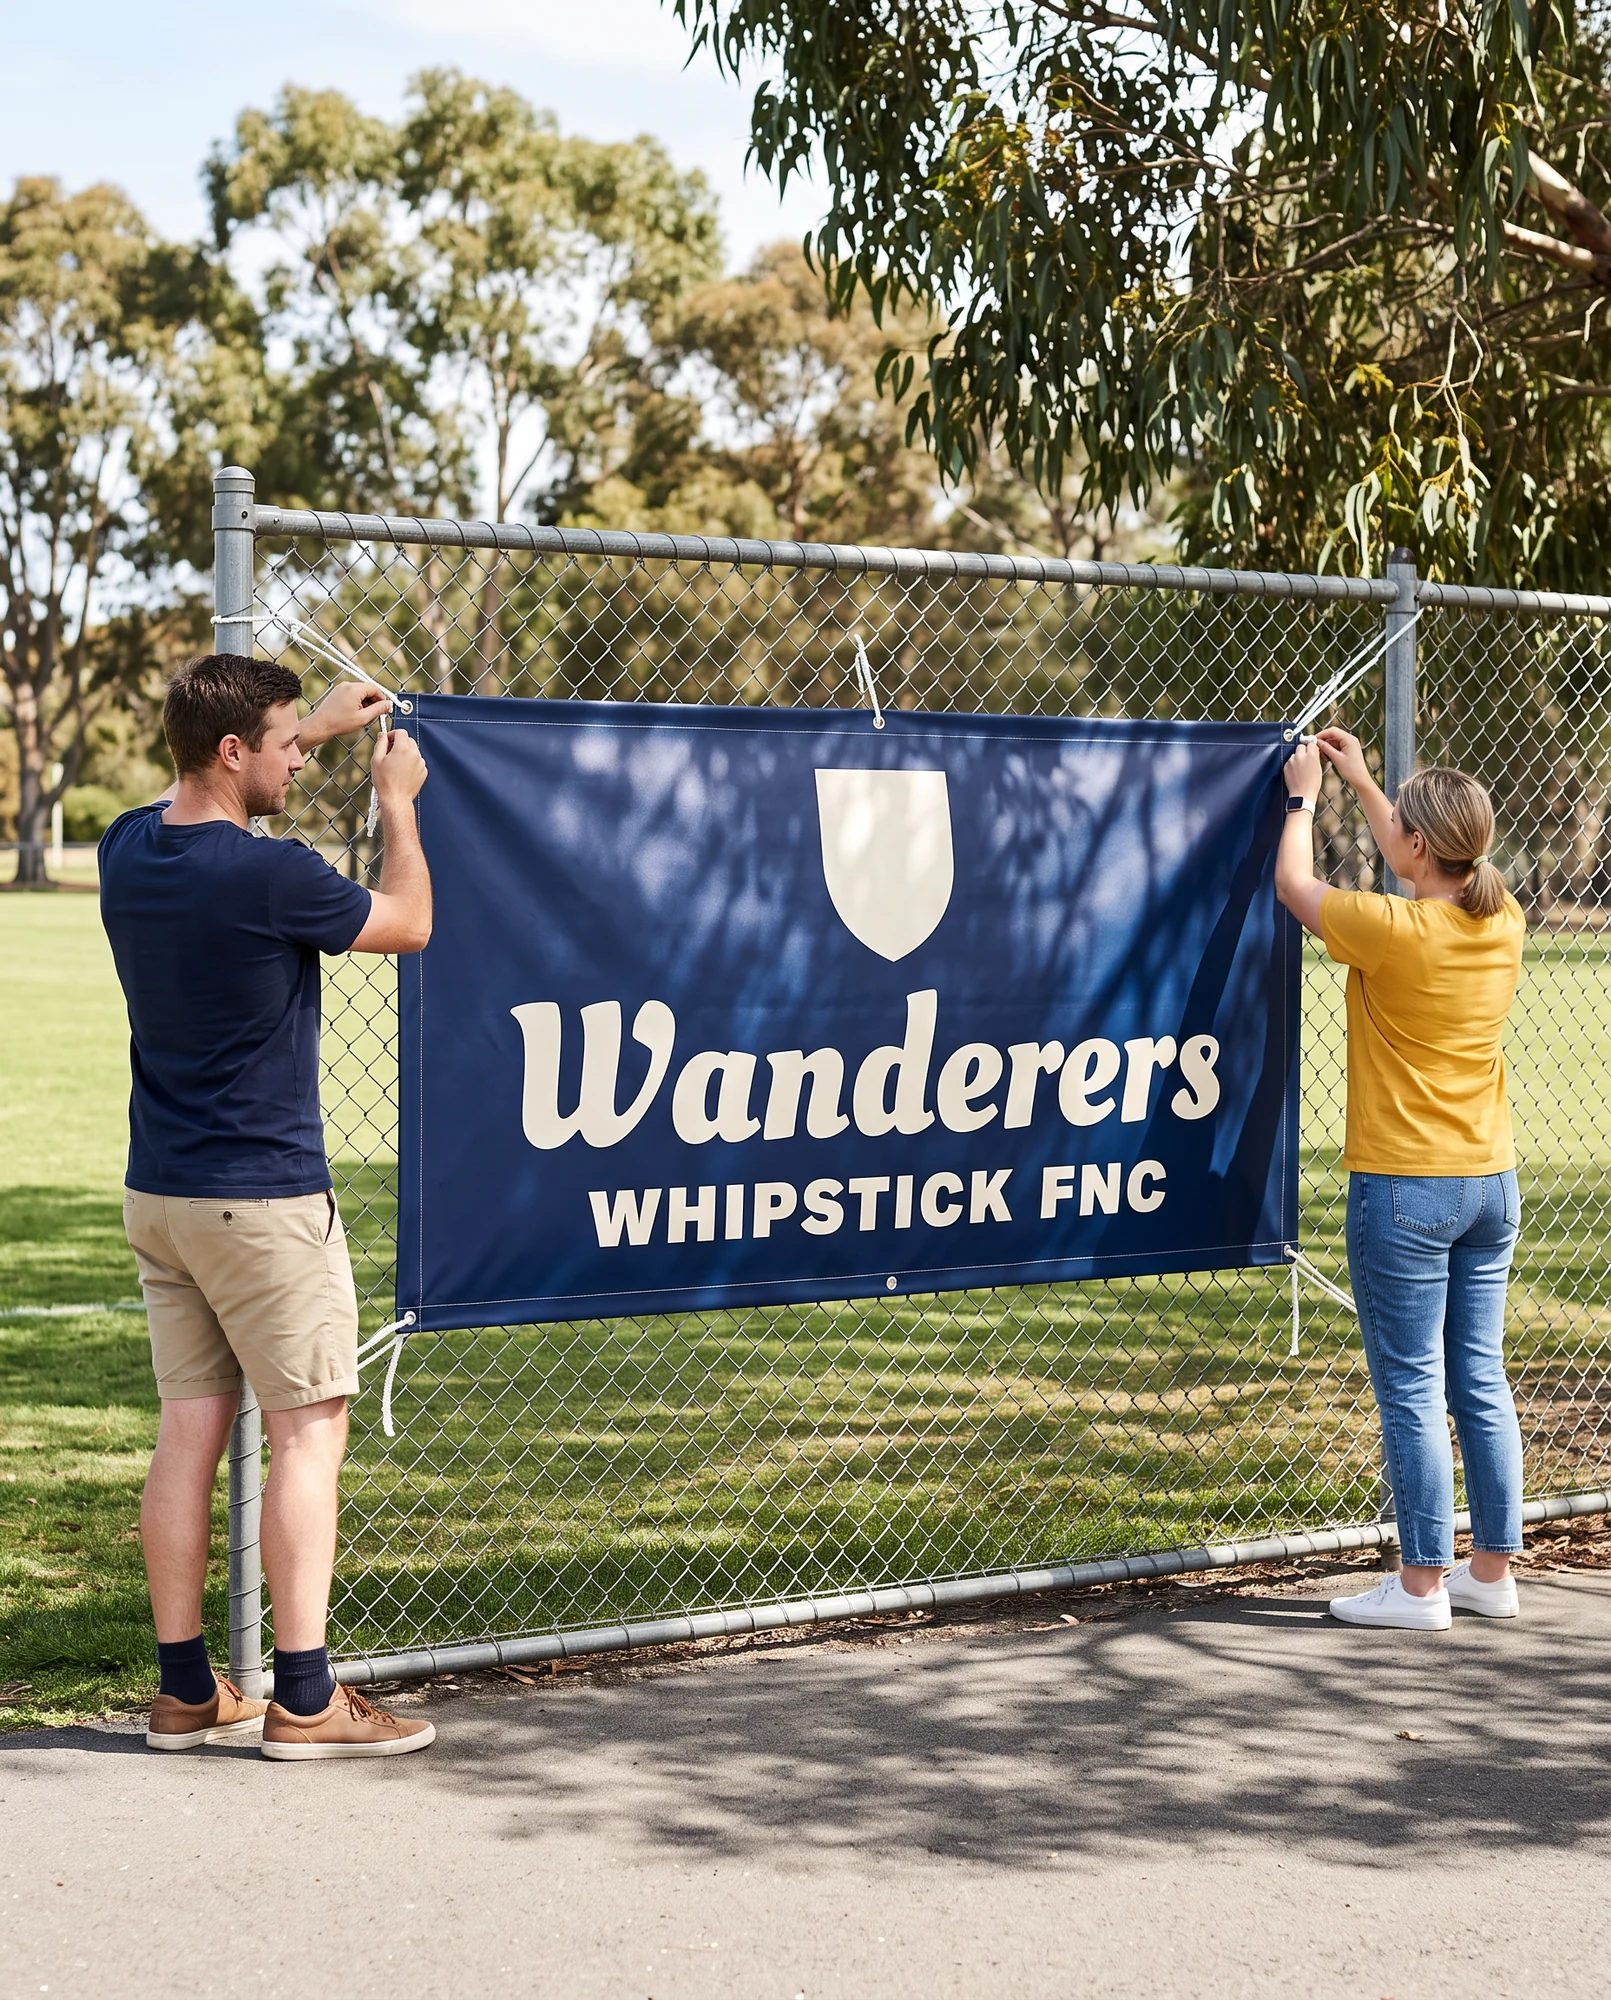
Set your document to the size the product will actually be, before you add anything to it. A business card, an A5 flyer and a 2 metre banner all need different layouts, and scaling a design up or down at the end is where text gets squashed and images go soft.
Each product page lists its sizes. If you are unsure which to choose, our guide on what size sign or banner you need helps for the larger pieces.
Why does my logo look blurry?
Resolution. Images have a fixed number of pixels. Stretch a small image across a large print and those pixels spread out, and the result is soft or blocky.
For print, you want 300 DPI (dots per inch) at the size the image will be printed. A logo that looks fine on a business card might be far too small for a vinyl banner. A photo that looks great on Instagram will often look poor printed at A3.
The fix is to always use the largest, highest-quality version of your files. If your logo was designed professionally, ask for the original vector files.
Quick tip: if you paid someone to design your logo, ask them for the original vector files now, while you still have their email, and keep them in one shared folder. It saves a scramble every time you order something new.
Vector or raster: what is the difference?
Vector files (.ai, .eps, .svg and many PDFs) are made of mathematical paths. They scale to any size, from a sticker to a building sign, without losing quality. They are ideal for logos, icons and text.
Raster files (JPEG, PNG, TIFF) are made of pixels and have a fixed resolution. They suit photos and complex images, but cannot be enlarged past their pixel count without losing quality.
For most jobs, send a vector file for your logo and high-resolution raster files for photos. If you only have a small JPEG of your logo, tell us. We may be able to redraw it as a vector, or advise how large it can be printed before quality drops. Our guide on whether you need a logo for commercial printing explains more.
What is bleed and why does it matter?
Bleed is extra artwork, usually 3mm, around the edge of your design that gets trimmed off. It makes sure colours and images run right to the edge of the finished piece with no thin white line.
If your design has a coloured background, a photo that runs to the edge or anything that touches the trim line, it needs bleed. Most design software adds it automatically; look for a print or bleed option when you export.
The opposite rule applies to text and logos: keep them inside the safe area, a little in from the trim, so nothing important gets cut off or sits uncomfortably close to the edge.
RGB or CMYK: why colours change
Screens show colour in RGB (light). Printing uses CMYK (ink). Some colours, especially bright neons, electric blues and vivid greens, look different once converted from RGB to CMYK, usually a little duller.
If colour accuracy matters, design in CMYK from the start and look at the proof before the full run. For brand colours in particular, see how to choose brand colours that work in print.
Which file format should I send?
In order of preference:
A press-quality PDF.
.ai or .eps for logos.
PNG for images with a transparent background.
TIFF for high-quality photos.
JPEG, which is acceptable for photos if it is high resolution.
Avoid sending Word documents, PowerPoint files or links to online design tools as final artwork. Export to PDF first, and embed or outline your fonts so the text looks the same on our side as it does on yours.
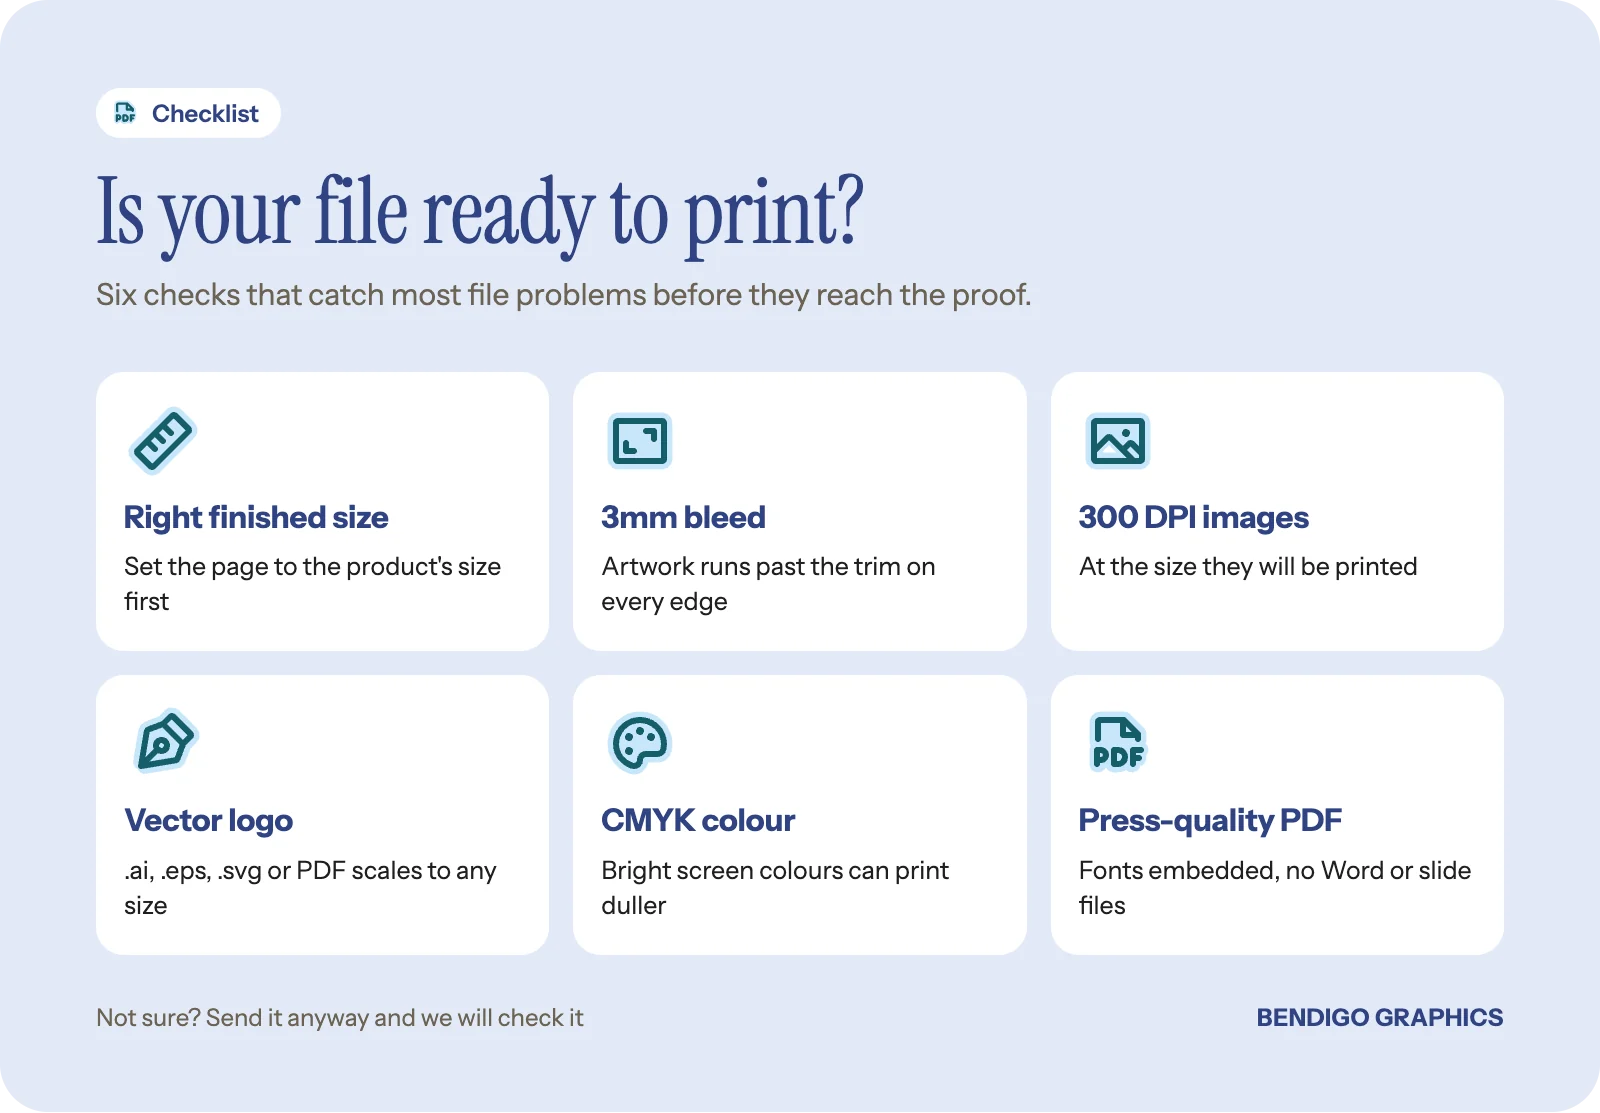
Rule of thumb: right finished size, 3mm bleed, images at 300 DPI at that size, CMYK colour, exported as a press-quality PDF. Tick those five and most files sail through.
What if I start from a template?
If you are starting from scratch, a template takes most of this off your plate. Our design templates are set to each product's true print size with bleed and a safe area shown, so you only need to add your details. You can read more in introducing the Bendigo Graphics editor.
When in doubt, send what you have
Do not let file anxiety stop you getting started. Send your files as they are and we will tell you if anything needs adjusting. That conversation is quick and it is part of the job. Our local team checks every proof before anything is made, and you see the proof on screen and approve it before production starts.
Common questions
What resolution do images need to be for printing?
300 DPI at the size they will be printed. Check the size, not just the number; a 300 DPI image the size of a stamp will not stretch to a poster.
How much bleed should I add?
Usually 3mm on every edge. Our templates are already set up with the bleed each product needs, and our team checks it on the proof.
Can I send a JPEG of my logo?
You can, and we will tell you how large it will print well. A vector version is always better, especially for signs and banners.
What if my file is not print ready?
Send it anyway. We will tell you what needs fixing, and we can fix it or redesign it for you if needed.
Ready to send your files?
Upload your artwork when you order, or if you would rather we handle it, ask us to design it. Either way, a person checks the proof before anything is made.